Some ideas are hard to judge while they are trapped in words.
The pyramids are especially like that. Say “ramp” and everyone nods, but which ramp? A straight ramp so huge it becomes its own engineering problem? A spiral ramp wrapping the monument and hiding the corners that need alignment? Internal corridors? Levers? A work platform? Temporary mass? Reused stone?
Most explanations of the Great Pyramid collapse into a diagram too quickly. The diagram tells you what the theory wants to be true. It does not always tell you whether the geometry can breathe.
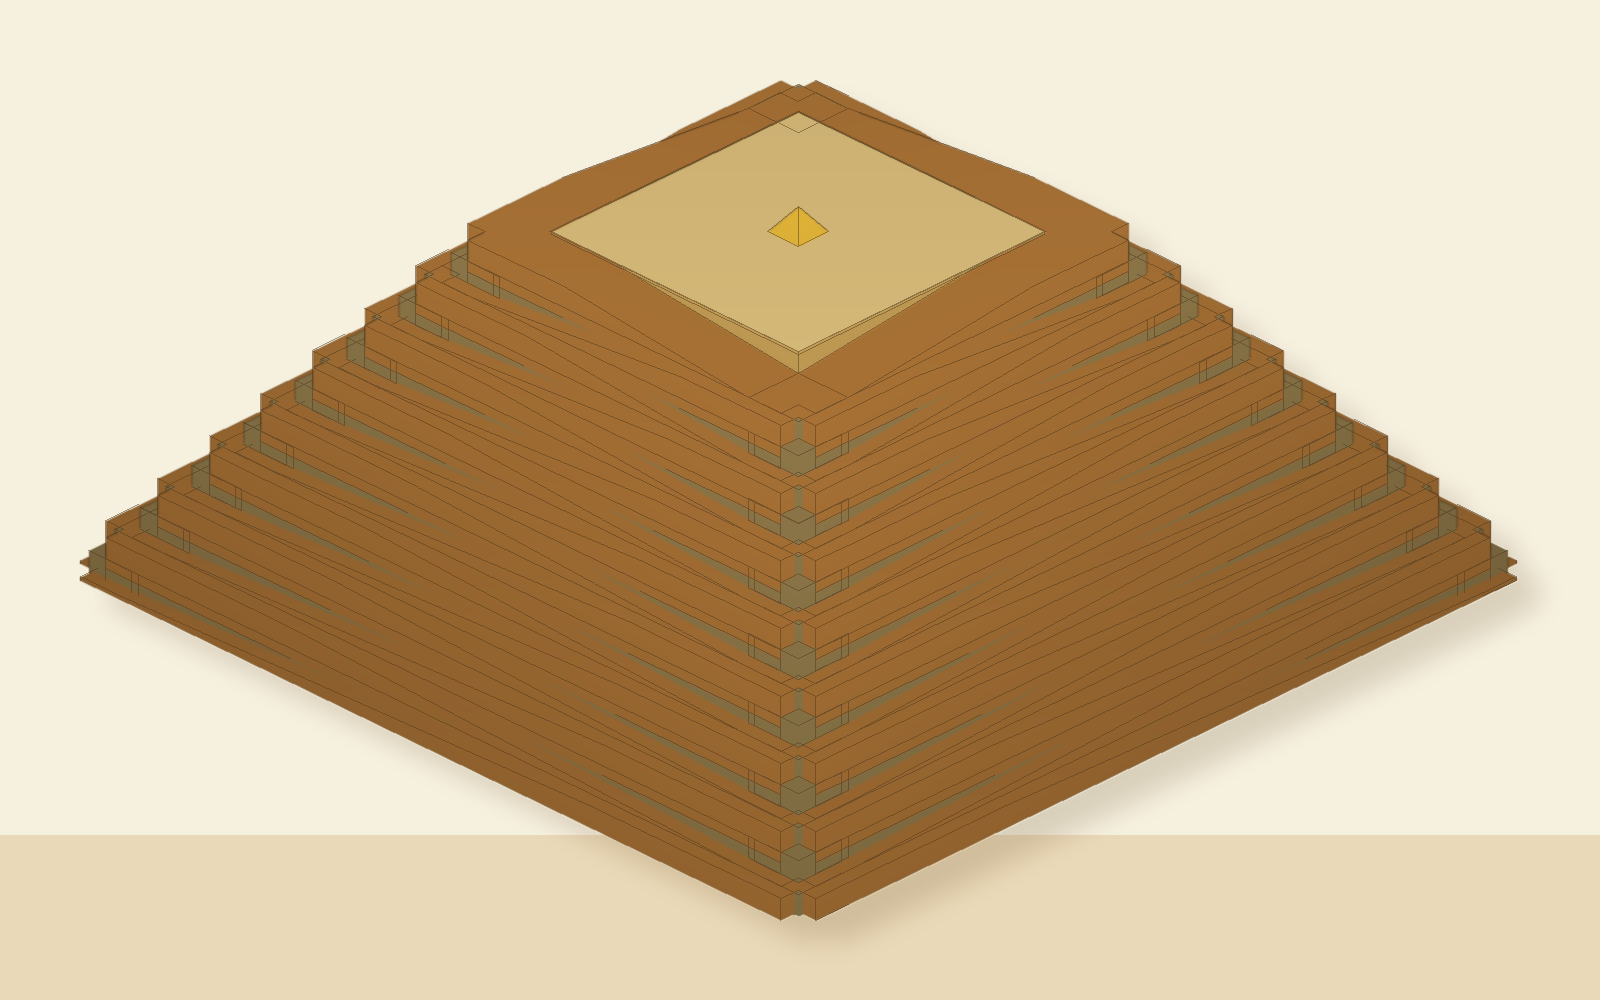
So I built a printable version of one of the stranger recent ideas: a Giza pyramid construction theory where the pyramid is first overbuilt as a stepped working mass, the capstone is placed on a broad flat platform, and then the temporary ramps and fill are removed from the top down while the final casing is installed.
The Idea That Sent Me Down The Ramp
The model in this repo follows the broad shape of the Huni Choi / DamiLee version of the top-down theory. It is not the familiar spiral ramp theory, and it is not the integrated-edge-ramp theory I initially confused it with.
The public trail I found looks roughly like this:
- Huni Choi has a public project page for the theory: Huni Choi Pyramid.
- EgyptToday covered Choi’s book in 2022: Korean researcher publishes book on miracle of Great Pyramid of Giza.
- DamiLee popularized the idea in the video This New Pyramid Theory Explains the Missing Evidence.
- There is a useful skeptical discussion on r/egyptology: Opinions on Huni Choi.
- OpenCulture wrote a short summary: Were the Egyptian Pyramids Not Built Up, But Carved Down?.
- A secondary written summary of the DamiLee video captures the recycling claim and mass-number framing: This New Pyramid Theory Explains the Missing Evidence.
The claim, as I understand it, is wonderfully physical:
- First, the builders create an oversized stepped mass, not the finished pyramid.
- Around that mass, they build a single-switchback ramp system with broad landings.
- The top becomes a flat work deck large enough to place the pyramidion/capstone early.
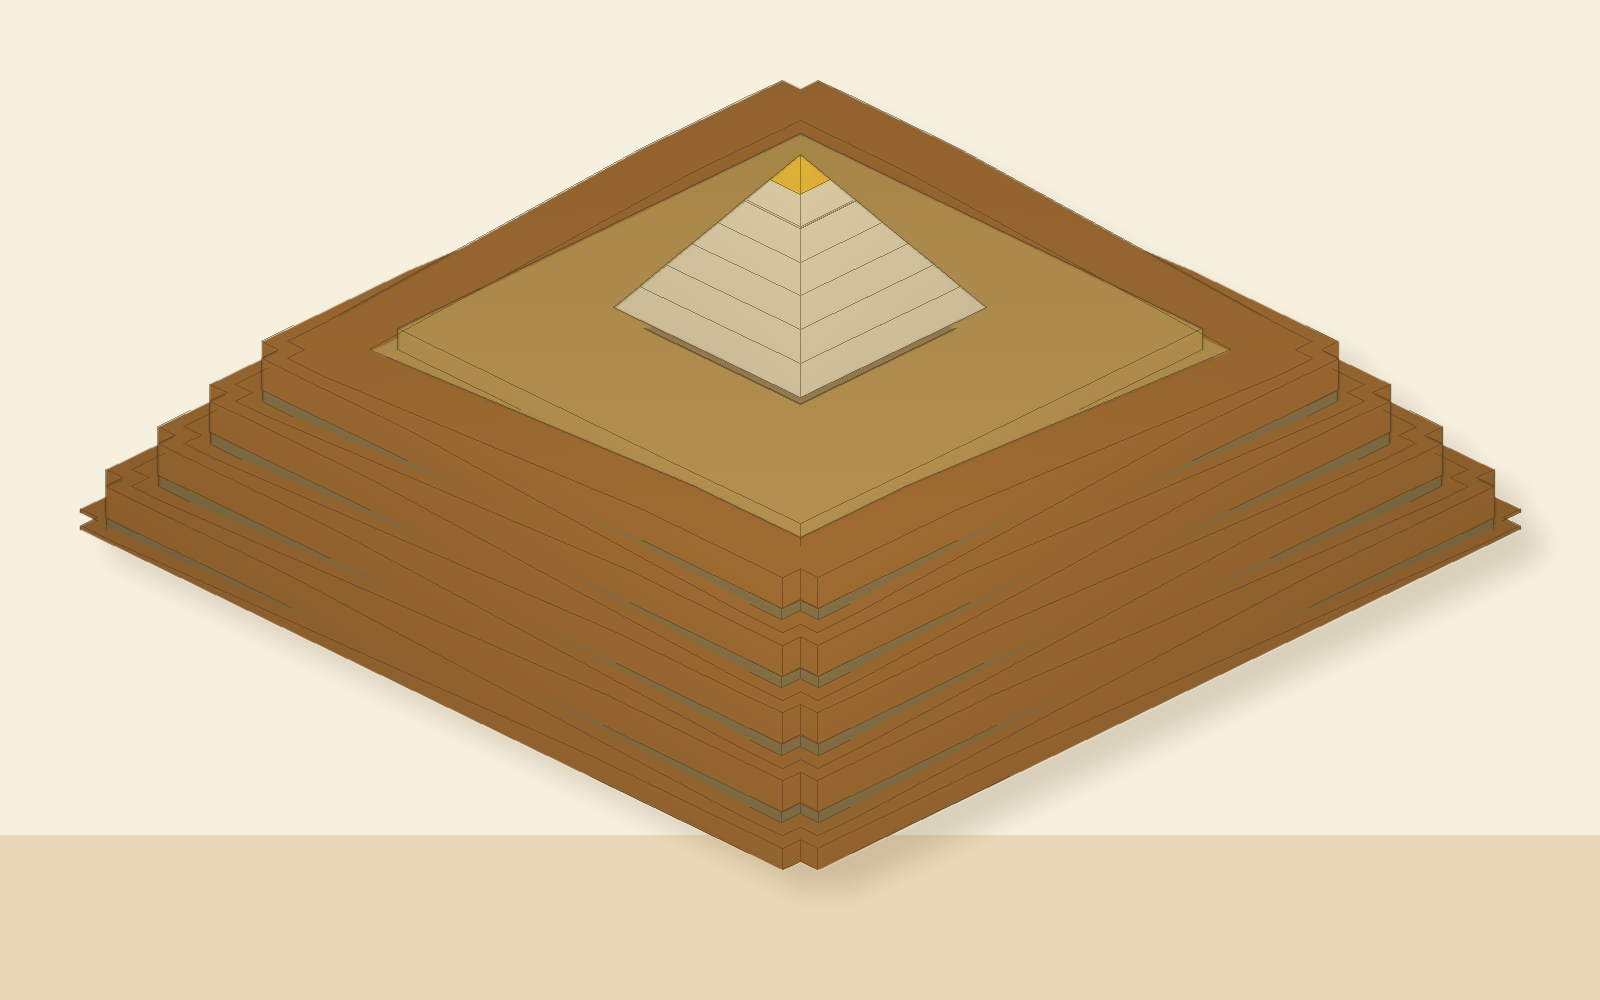
- Once the capstone is set and aligned, the temporary ramp/fill structure is dismantled downward.
- As each course clears, casing stones are placed and aligned.
- The removed material is not waste; it becomes feedstock for later pyramids, foundations, and the surrounding Giza works.
That last point is the hook. It turns the plateau into a material flow problem, not just a monument problem.
I am not presenting this as archaeological proof. I am treating it as a geometry prompt: if the idea were true, what would the construction machine have to look like?
Watch The Model Build And Unbuild Itself
The repo includes a live Three.js demo that loops through the sequence: below-grade chamber, stepped inner mound, temporary fill, switchback ramps, capstone, top-down deramping, casing, and reuse pile.
Open the looping demo in a new tab.
The animation matters because the theory is temporal. A still image shows a strange stepped pyramid with ramps. The loop shows the real question: can the build state become the finished state without asking invisible scaffolding to do all the work?
Turning A Theory Into Parts
The first version was too diagrammatic. Ramps were thin. Corners did not meet cleanly. Some ramp faces wound inside-out. There were visible air gaps between ramp levels that could not exist in a real construction mass.
That was the point where the project stopped being “make a cool model” and became “make the theory answer to geometry.”
The current generator produces:
- an inner stepped mound/core
- a below-grade chamber cut
- sliced chamber references that appear course by course
- temporary fill layers
- single-switchback ramp layers on all four sides
- notched corner landings
- a broad temporary top platform
- a small pyramidion/capstone
- removable casing rings
- constructed-state STL snapshots
- a reuse stockpile representing removed temporary material
The project is parametric, so the proportions can be tuned from the command line:
python3 generate_giza_kit.py --base-mm 120 --courses 12 --casing-rings 12
python3 generate_giza_kit.py --base-mm 200 --height-mm 127.25 --ramp-width-mm 24
The default finished pyramid is a 160 mm tabletop model. It is not trying to reproduce every block. It is trying to preserve the sequence: build up, set capstone, remove temporary works, finish downward.
What You Can Print
The GitHub repo is here:
The files are organized around both printing and explanation:
dist/printable/
  inner_stepped_core.stl
  temporary_ramp_backfill.stl
  temporary_ramp_local_underfill.stl
  temporary_flat_capstone_platform.stl
  capstone.stl
  casing_ring_top_01.stl ... casing_ring_top_16.stl
  reuse_material_stockpile_for_next_pyramid.stl

dist/printable/core_layers/
dist/printable/fill_layers/
dist/printable/ramp_layers/
dist/printable/chamber_layers/

dist/constructed_states/
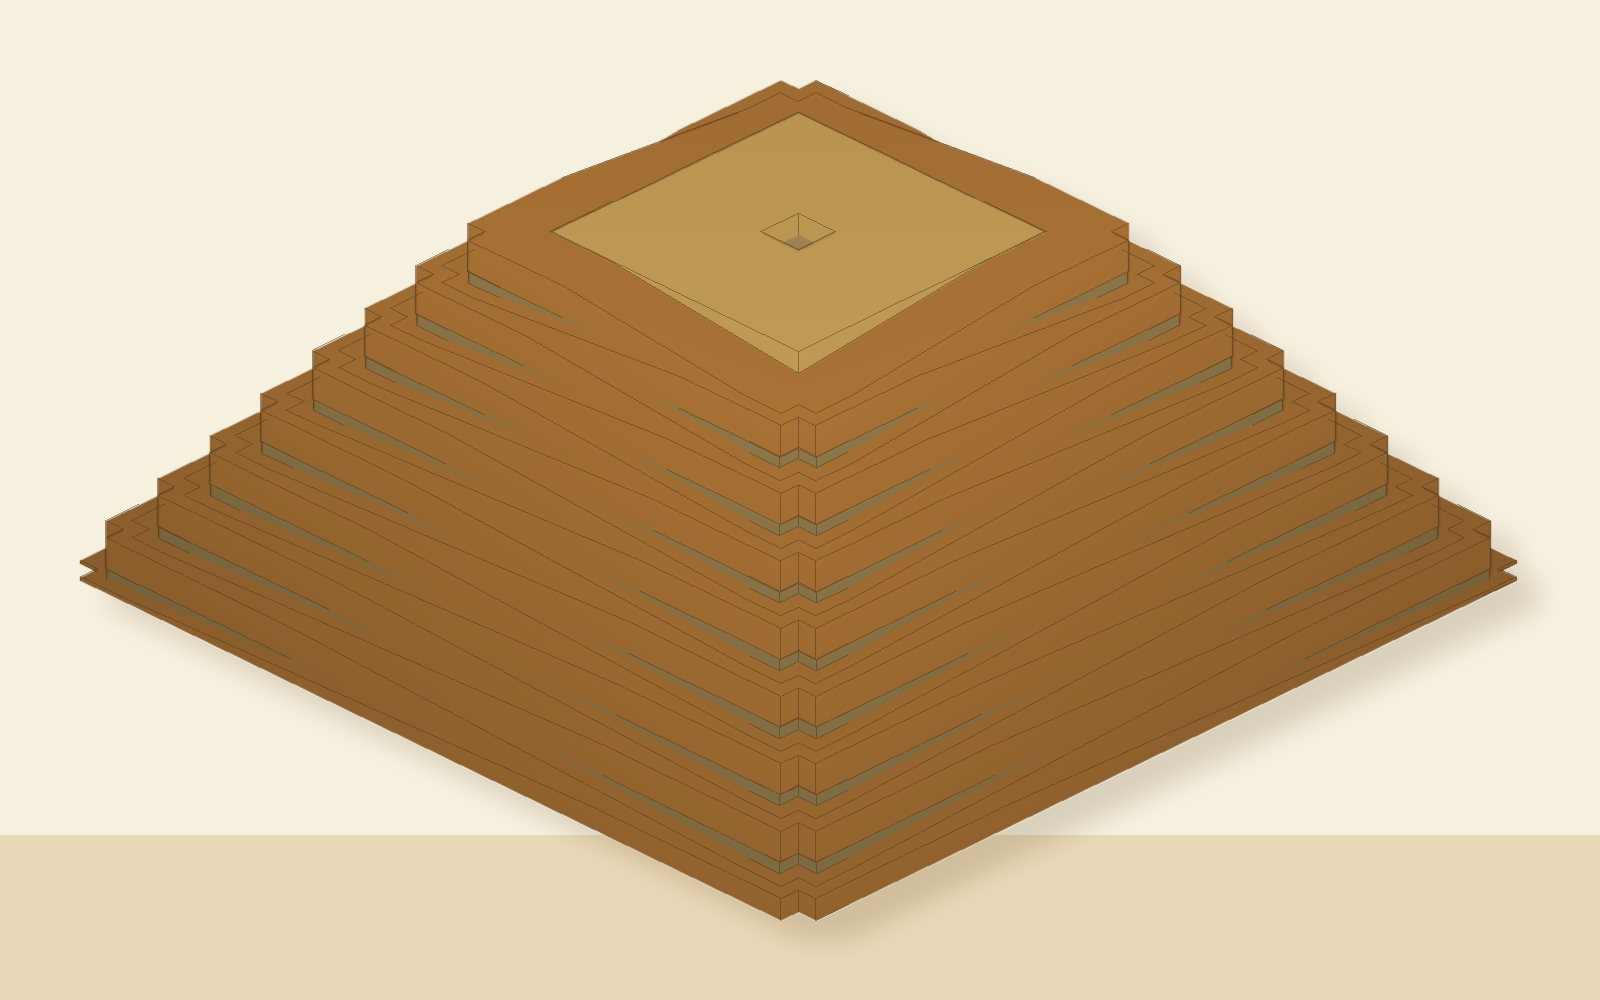
  constructed_01_full_backfilled_ramp_system.stl
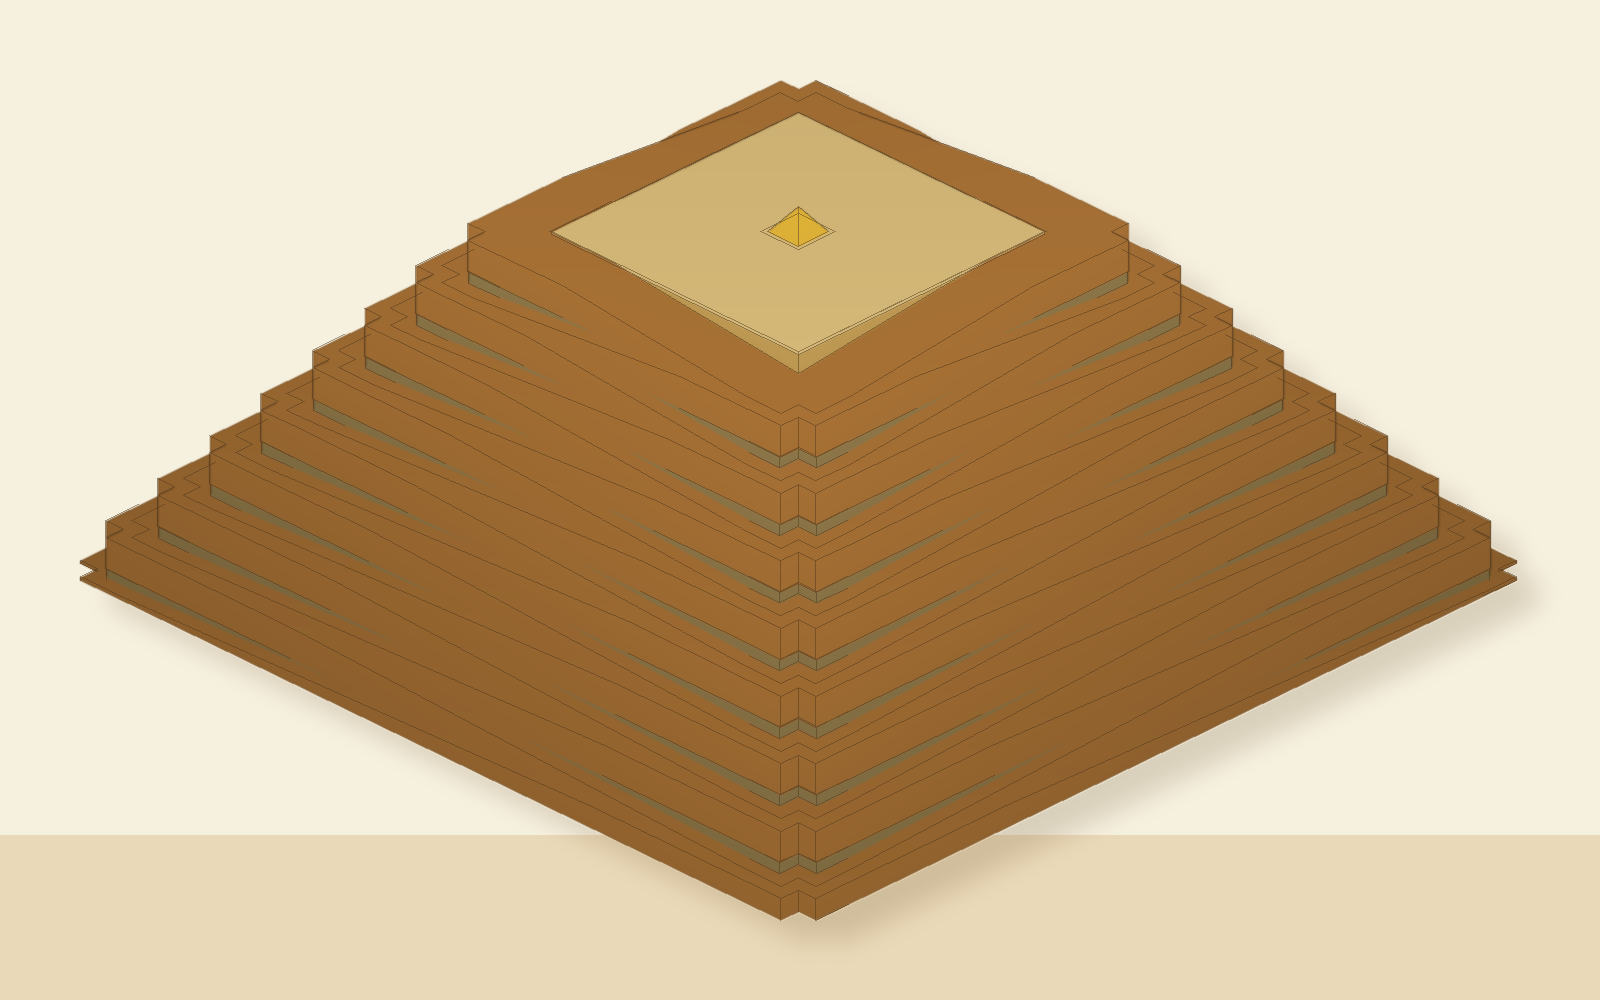
  constructed_02_capstone_set_before_deramping.stl
  constructed_03_partial_top_down_deramping.stl
  constructed_04_finished_pyramid.stl
If you want the shortest physical story, print the constructed states first. They act like four snapshots:
- the full backfilled ramp system
- the capstone set before deramping
- the partial top-down deramping state
- the finished pyramid
If you want the argument in your hands, print the layers. Build the mound and ramps course by course, place the capstone, then remove upper ramp/fill pieces and replace them with casing rings as you work downward.
That is the moment the model becomes useful. The eye starts asking better questions:
- Are the ramps wide enough to read as working construction paths?
- Do the landings make sense as staging and turn-around areas?
- Does the top deck leave enough room around a small capstone?
- Do the corner notches plausibly preserve alignment sight lines?
- Does the removed temporary material feel like a meaningful stockpile?
- Do the chamber references conflict with the build sequence?
The Chamber Problem
Any Great Pyramid construction model eventually runs into the interior.
This kit includes a schematic chamber reference: descending passage, ascending passage, Queen’s Chamber, Grand Gallery, King’s Chamber, relieving chambers, and simplified shaft references. It is not survey-grade. It is deliberately inflated for printable visibility.
The important modeling choice is that the chamber references are sliced by construction layer. The lower chamber exists before the first courses. The internal voids appear as the mound builds up, instead of being drawn as a ghostly diagram that floats through a completed block.
That made the model less pretty and more honest.
Why The Capstone Comes Early
The capstone stage is the most interesting part of this theory to model.
In a normal mental picture, the pyramid rises toward a point. The top is the last thing. In this theory, the point is placed while the pyramid is still surrounded by working mass. The builders do not need a tiny final work surface at the summit; they have a broad flat platform around it.
That is why the capstone in this model is intentionally small relative to the deck. Earlier versions made it too large and the scene stopped matching the reference idea. Once the pyramidion became small, the top deck started to make sense: a work platform, not a pedestal.
What This Is, And What It Is Not
This is not a proof of how the Great Pyramid was built.
It is also not a historical reconstruction in the strict sense. The proportions are tabletop-printable, the chamber insert is schematic, and the ramp system is a conceptual interpretation based on public descriptions and screenshots rather than original survey drawings or released 3D source files.
What it does offer is a way to make the theory inspectable.
I like that kind of model. It turns “I watched a video and it sounded convincing” into “here are the parts; here is where the idea works; here is where it strains; here is what I had to fudge to make it printable.”
That is a much better place to have the argument.
Try It
The repo includes generated STL files, a Python generator, geometry validation, release renders, and the live animated viewer:
- GitHub: danieliser/giza-pyramid-kit
- Live demo: danieliser.github.io/giza-pyramid-kit/demo
- Preview image used for sharing: capstone before deramping
Generate everything locally:
git clone https://github.com/danieliser/giza-pyramid-kit.git
cd giza-pyramid-kit
make generate
make validate
make serve
Then open:
http://localhost:8026/demo/
The next step is a real printed build. The computer model is already good at showing sequence. A table full of pieces will be better at showing where the idea fights back.